DreamLine DL-6715-01CL Installation Guide
Browse online or download Installation Guide for Unknown DreamLine DL-6715-01CL. DreamLine DL-6715-01CL Installation Guide User Manual
- Page / 16
- Table of contents
- BOOKMARKS
- DreamLine 1
- Tools Required 2
- panel 1pc 3
- Door Assembly Diagram 4
- Ø 5/16" 6
- Fig. 10 9
- Fig. 12 10
- Fig. 11 10
- Ø 1/8" 11
- Fig. 17 13
- Fig. 18 13
- Product Maintenance 14
- DREAMLINE 15
- BATHAUTHORITY.COM 16
Summary of Contents
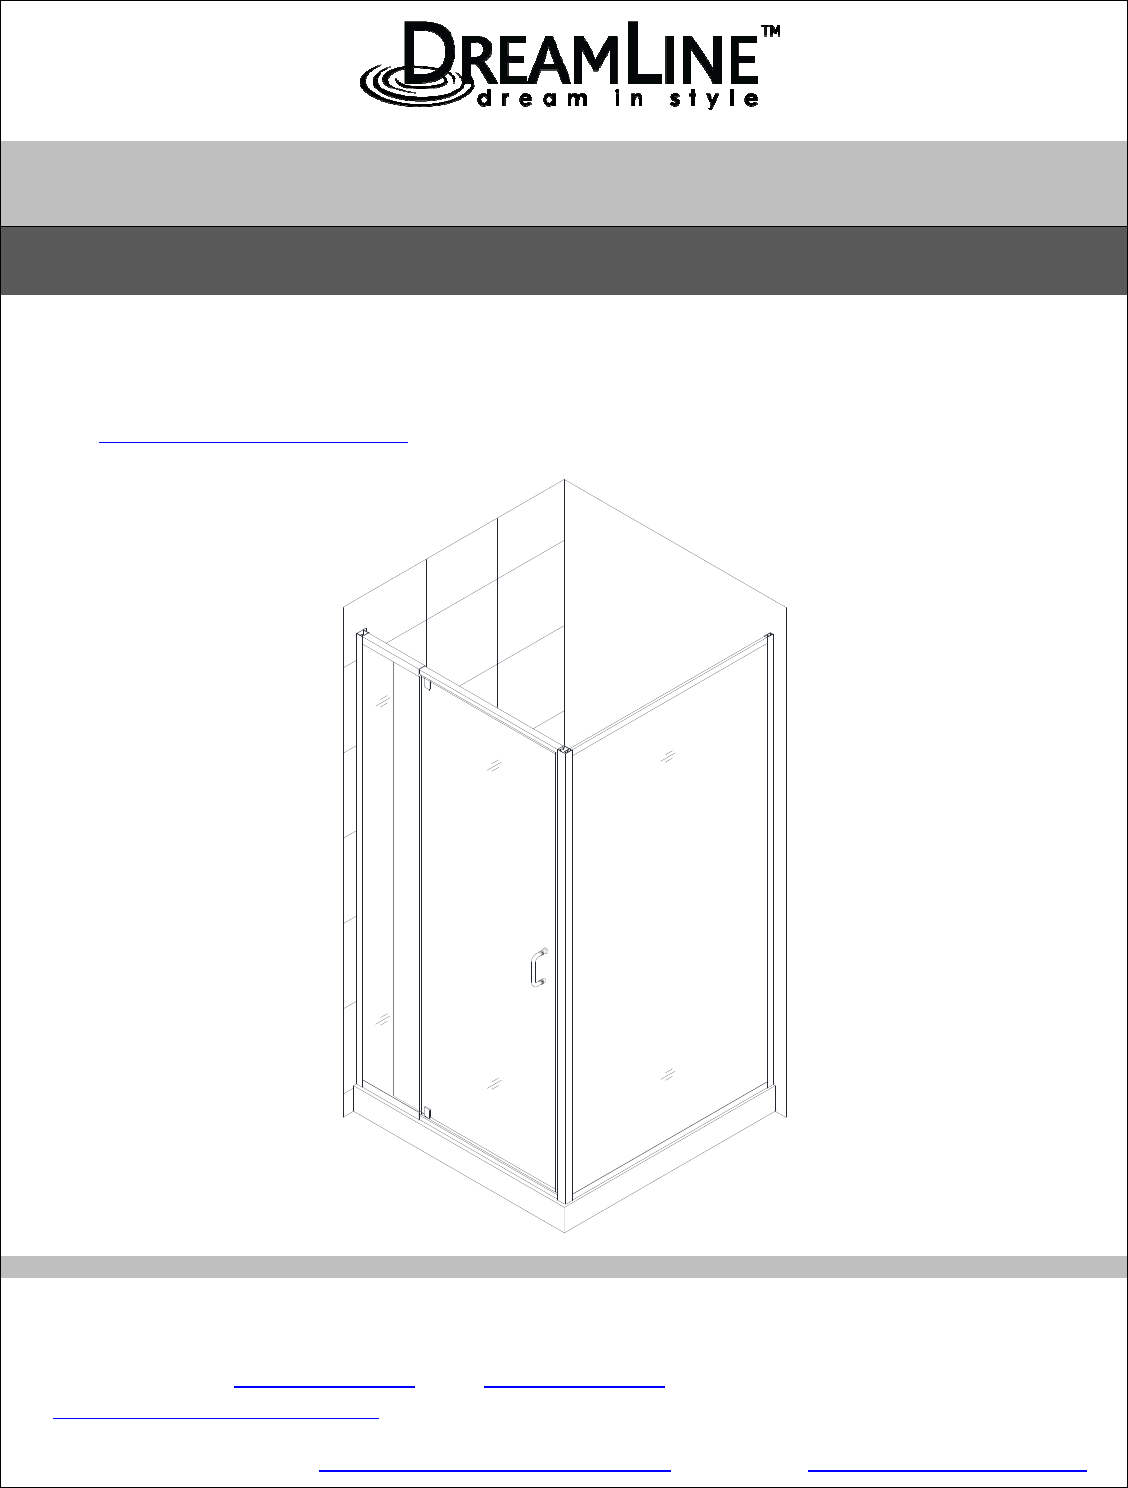
FLEX SHOWER ENCLOSURE INSTALLATION INSTRUCTIONS IMPORTANT DreamLineTM reserves the right to alter, modify or redesign products at any time with
“FLEX” Enclosure Rev.1, Ver.3 03/2014 10 8. Extend width of the Door assembly (02) by stretching the top and bottom Expanding rails toward th
“FLEX” Enclosure Rev.1, Ver.3 03/2014 11 9. Make sure the Door assembly (02) is fully extended inside the Wall profile (01) and the Corner pr
“FLEX” Enclosure Rev.1, Ver.3 03/2014 12 11. Do the final adjustments to the Door assembly (02) and Return glass panel (09) if required. Open
“FLEX” Enclosure Rev.1, Ver.3 03/2014 13 13. Attach Flanged Anti-water strip (07) to the vertical edge of the Stationary glass. Cut Bottom A
“FLEX” Enclosure Rev.1, Ver.3 03/2014 14 Product Maintenance To ensure long lasting life for your acrylic back walls, wipe them off afte
DREAMLINE™EXCLUSIVELIMITEDWARRANTYASOFMAY6,2013Thiswarrantyextends onlyto theoriginalowner/end‐userforhouseholduseonlyandisno
TEL: 866-731-2244 FAX: 866-227-1533 WWW.BATHAUTHORITY.COM For more information on DreamLineTM Shower Enclosure
“FLEX” Enclosure Rev.1, Ver.3 03/2014 2Preparation 1. After opening all boxes and packages, read this introduction carefully. Check that al
“FLEX” Enclosure Rev.1, Ver.3 03/2014 3Detailed Diagram of Shower Enclosure Components 345678213911011 Door packing List 01 Wall profile 2pc
“FLEX” Enclosure Rev.1, Ver.3 03/2014 4Door Assembly Diagram Alluminum profileExpandable railExpandable railGlass doorStationary glassAllumin
“FLEX” Enclosure Rev.1, Ver.3 03/2014 5Shower Enclosure Installation NOTE: The installation of this shower enclosure requires two installers.
“FLEX” Enclosure Rev.1, Ver.3 03/2014 6 3. Trace the drilling holes on the wall through the predrilled holes in the Wall profile (01). Drill
“FLEX” Enclosure Rev.1, Ver.3 03/2014 7 5. Slide the Corner profile (10) over the aluminum vertical edge of the Re
“FLEX” Enclosure Rev.1, Ver.3 03/2014 8 6. Install the Handle (13) onto the Door assembly (02). Move the Door assembl
“FLEX” Enclosure Rev.1, Ver.3 03/2014 9 7. Slide the Return glass panel (09) assembly into the groove of the Return w
More documents for Unknown DreamLine DL-6715-01CL

Related products and manuals for Unknown DreamLine DL-6715-01CL
 (48 pages)
© 2020, manymanuals.com. All rights reserved. | 1.847 s |
 Manymanuals.com
 Manymanuals.de
 Manymanuals.fr
 Manymanuals.it
 Manymanuals.pl
 Manymanuals.cz
 Manymanuals.es
 Manymanuals-pt.com
Comments to this Manuals